Main Page
Difference between revisions of "Mourning of Demise"
Jump to navigation
Jump to search
Beepboop8-3 (talk | contribs) (Created page with "'''Mourning of Demise''' is an Emergency Quest. ==Quest== {| class="wikitable table-bordered" style="margin-left: auto; margin-right: auto; border: none;" |- ! Quest Type |...") |
Beepboop8-3 (talk | contribs) |
||
| Line 157: | Line 157: | ||
==Enemies== | ==Enemies== | ||
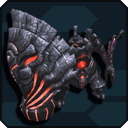
| + | ===Darkers=== | ||
| + | <gallery mode="packed" caption="Darkers"> | ||
| + | File:Dagan.png|link=Dagan|[[Dagan]] | ||
| + | File:ElAhda.png|link=El Ahda|[[El Ahda]] | ||
| + | File:Goldrahda.png|link=Goldrahda|[[Goldrahda]] | ||
| + | File:SorzaBrahda.png|link=Sorza Brahda|[[Sorza Brahda]] | ||
| + | File:GaWanda.png|link=Ga Wonda|[[Ga Wonda]] | ||
| + | File:GuWanda.png|link=Gu Wonda|[[Gu Wonda]] | ||
| + | File:Kuklonahda.png|link=Kuklonahda|[[Kuklonahda]] | ||
| + | File:Cyclonehda.png|link=Cyclonehda|[[Cyclonehda]] | ||
| + | File:UIEnemyBomberVareda.png|link=Bomber Vareda|[[Bomber Vareda]] | ||
| + | File:BontaBearadda.png|link=Bonta Bearadda|[[Bonta Bearadda]] | ||
| + | </gallery> | ||
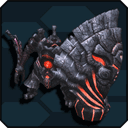
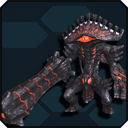
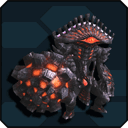
| + | <gallery mode="packed" caption="Darker Bosses"> | ||
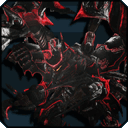
| + | File:DarkRagne.png|link=Dark Ragne|[[Dark Ragne]] | ||
| + | File:DarkVibraceYuga.png|link=Dark Vibrace Yuga|[[Dark Vibrace Yuga]] | ||
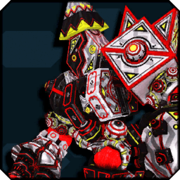
| + | File:UIEnemyGranaGwanahda.png|link=Grana Gwanahda|[[Grana Gwanahda]] | ||
| + | File:UIEnemyOdunaZoldatta.png|link=Oduna Zoldatta|[[Oduna Zoldatta]] | ||
| + | File:UIEnemyRafagaRingahda.png|link=Rafaga Ringahda|[[Rafaga Ringahda]] | ||
| + | File:UIEnemyGolshrayda.png|link=Golshrayda|[[Golshrayda]] | ||
| + | </gallery> | ||
| + | ===Luminmechs=== | ||
| + | <gallery mode="packed" caption="Luminmechs"> | ||
| + | File:UIEnemyBareel.png|link=Bareel|[[Bareel]] | ||
| + | File:UIEnemyZolura.png|link=Zolura|[[Zolura]] | ||
| + | File:UIEnemyHavalussa.png|link=Havalussa|[[Havalussa]] | ||
| + | File:UIEnemyRadilugo.png|link=Radilugo|[[Radilugo]] | ||
| + | File:UIEnemyOrkabah.png|link=Orkabah|[[Orkabah]] | ||
| + | File:UIEnemyDissolsaber.png|link=Dissolsaber|[[Dissolsaber]] | ||
| + | File:UIEnemyElscoude.png|link=Elscoude|[[Elscoude]] | ||
| + | File:UIEnemyHeudAzure.png|link=Heud Azure |[[Heud Azure]] | ||
| + | </gallery> | ||
| + | <gallery mode="packed" caption="Luminmech Bosses"> | ||
| + | File:UIEnemyDralVeluge.png|link=Dral Veluge|[[Dral Veluge]] | ||
| + | File:UIEnemyDralGurudy.png|link=Dral Gurudy|[[Dral Gurudy]] | ||
| + | File:UIEnemyVeiledFordruss.png|link=Veiled Fordruss|[[Veiled Fordruss]] | ||
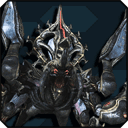
| + | File:UIEnemyGravExecour.png|link=Grav Execour|[[Grav Execour]] | ||
| + | File:UIEnemyVaruna.png|link=Varuna|[[Varuna]] | ||
| + | File:UIEnemyMitra.png|link=Shiva (Mitra Ver.)|[[Shiva (Mitra Ver.)]] | ||
| + | File:UIEnemyShiva.png|link=Goddess of Demise: Shiva|[[Goddess of Demise: Shiva]] | ||
| + | </gallery> | ||
| + | ===Others=== | ||
| + | <gallery mode="packed" caption="Other"> | ||
| + | File:GannagamIcon.png|link=Ganna-gam|[[Ganna-gam]] | ||
| + | File:LerangamIcon.png|link=Leran-gam|[[Leran-gam]] | ||
| + | File:BolOgakibaruIcon.png|link=Bol Ogaki-baru|[[Bol Ogaki-baru]] | ||
| + | File:GauOgakibaruIcon.png|link=Gau Ogaki-baru|[[Gau Ogaki-baru]] | ||
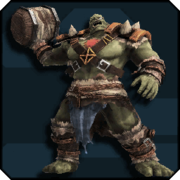
| + | File:UIEnemyOrcBomber.png|link=Orc Bomber|[[Orc Bomber]] | ||
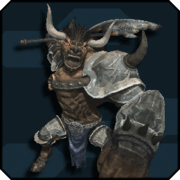
| + | File:UIEnemyMinotaurgus.png|link=Minotaurgus|[[Minotaurgus]] | ||
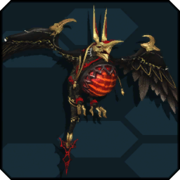
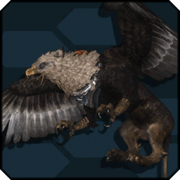
| + | File:UIEnemyOmegaGryphon.png|link=Omega Gryphon|[[Omega Gryphon]] | ||
| + | </gallery> | ||
| + | <gallery mode="packed" caption="Other Bosses"> | ||
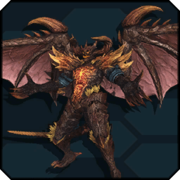
| + | File:UIEnemyFlameDiamos.png|link=Flame Diamos|[[Flame Diamos]] | ||
| + | File:UIEnemyEbolionDragon.png|link=Evolion Dragon|[[Evolion Dragon]] | ||
| + | </gallery> | ||
==Strategy== | ==Strategy== | ||
Revision as of 19:44, 19 October 2020
Mourning of Demise is an Emergency Quest.
Quest
| Quest Type | Emergency Quest |
|---|---|
| Quest Goal | Head for the Final Area! |
| Single/Multi Party | Multi |
| Clearing Conditions | Defeat the enemy in the Final Area! |
| Failing Conditions | N/A |
| Quest Time Limit | N/A |
Ranking & Quest Points
- This Quest has special ranking requirements.
| Defeat Enemies | 400 pts |
|---|---|
| Clear Time | 100 pts |
| Quest Points | 9500 pts (see below) |
| Max Score | 10000 pts |
- 9500 total points or more is required for S-rank. This means accumulating a total of 9000 or more Quest Points on the counter within the quest.
- Quest Points are awarded for defeating bosses and for destroying enemy fighter craft and turrets, according to the following tables:
| Area 1 | Area 2 | Area 1 | ||||||
|---|---|---|---|---|---|---|---|---|
| Target | Points | Number | Target | Points | Number | Target | Points | Number |
| Cassadol I | 22pt | 51 | Fractal Cannon | 50pt | 12 | Varuna | 500pt | 1 |
| Cassadol II | 22pt | Cassadol IV | 93pt | 3 | Shiva (Mitra Ver.) | 500pt | 1 | |
| Minimal Laser | 23pt | 53 | Demi-Variable | 50pt | 6 | Goddess of Demise: Shiva | 700pt | 1 |
| Fractal Cannon | 23pt | Evolion Dragon | 350pt | 1 | E-Trial Clear | 450pt | - | |
| Variable Laser | 23pt | Dark Ragne | 250pt | 1 | Area 3 Total | 2150pt | ||
| Luster Cannon | 0pt | 4 | Oduna Zoldatta | 250pt | 1 | Area 1+2 Total | 7350pt | |
| Bridge Mechanism | 120pt | 4 | Grana Gwanahda | 350pt | 1 | |||
| Dark Vibrace Yuga | 200pt | 1 | Rafaga Ringahda or Golshrayda | 350pt | 1 | |||
| Dral Veluge | 200pt | 1 | Veiled Fordruss | 350pt | 1 | |||
| Dral Gurudy | 200pt | 1 | Grav Execour | 400pt | 1 | |||
| E-Trial Completion | 100pt | - | E-Trial Completion | 350pt | - | |||
| Area 1 Total | 3521pt | Area 2 Total | 3829pt | |||||
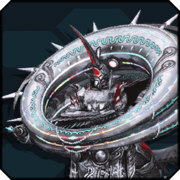
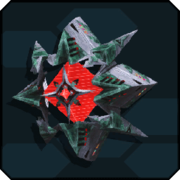
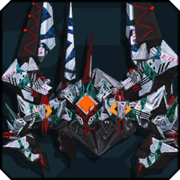
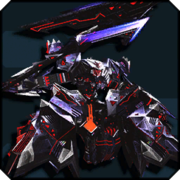
Enemies
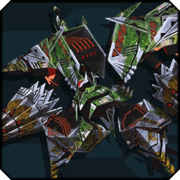
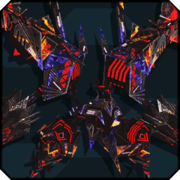
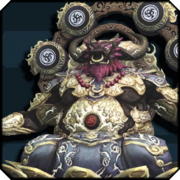
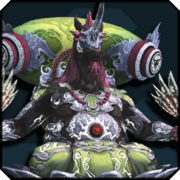
Darkers
- Darkers

- Darker Bosses

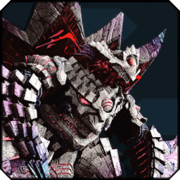
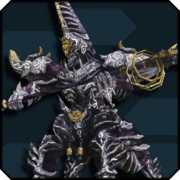
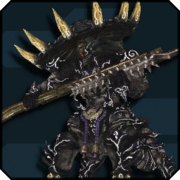
Luminmechs
- Luminmechs
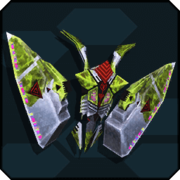
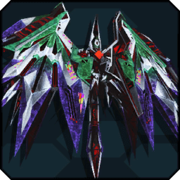
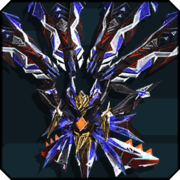
- Luminmech Bosses

Others
- Other
- Other Bosses
Strategy
Area 1: Friendly Battleship Deck
- Turrets will appear on either side of the battleship deck.
- Enemy Fighters (Cassadol I and II) will fly overhead like in Sector 1 of Armada of Demise. Destroy them to accumulate Quest Points.
- Enemy Battleships will appear on either side of the friendly battleship. Use the turrets to destroy turrets and bridge of the enemy battleship to accumulate Quest Points.
- The first battleship will appear on the left (port) side.
- The second battleship will appear on the right (starboard) side.
- Finally, two battleships will appear, one on either side.
- Mobs will spawn on the battleship deck. Defeat the mobs to cause additional turrets to appear.
- After the final pair of enemy battleships are destroyed (or warp out), Dral Veluge and Dral Gurudy will spawn along with mobs.
- The Emergency Trial is to defeat all 21 enemies within 1 minute and 30 seconds.
Area 2: Enemy Flagship Interior
- Defeat the mobs to open the first gate
First Room (Square)
- There are three routes in the first room - central, right, and left.
- Central Route:
- Defeat the Evolion Dragon.
- Take the jump pad up to the towers with the Fractal Cannons on them to accumulate Quest Points.
- Right Route:
- Defeat the mobs while avoiding the moving laser walls.
- Defeat Oduna Zoldatta.
- Left Route:
- Stay under the static laser wall to avoid damage.
- Defeat Dark Ragne.
- Defeat the mobs, including a Flame Diamos.
Second Room (B-shaped room)
- There are two routes in the second room: straight, and the route to the side.
- Straight Route:
- Defeat the mobs (Goldrahdas)
- Defeat the Grana Gwanahda and the large ultralized Darker boss (either Rafaga Ringahda or Golshrayda)
- Side Route:
- Activate the switches while avoiding the static laser walls to avoid damage.
- Defeat the mobs and shoot down the Cassadol IV (Gold Fighter Planes) for Quest Points.
- Avoid the rotating laser walls and deactivate the 3 devices.
Final Room
- Destroy the turrets for Quest Points
- The Emergency Trial is to defeat the Veiled Fordruss and Grav Execour within 1 minute and 20 seconds.
Area 3: Enemy Flagship Center
- After a short countdown, the MPA will divided to fight the 3 bosses: Varuna, Shiva (Mitra Ver.) and Goddess of Demise: Shiva.
- How the MPA is split depends on the order of entering into Area 3:
- 1,4,7,10 will be sent to the left to face Varuna
- 2,5,8,11 will be sent to the right to face Shiva (Mitra Ver.)
- 3,6,9,12 will be sent to the center to face Goddess of Demise: Shiva
- When one of the bosses is defeated, jump pads will appear to allow assisting with the other bosses.